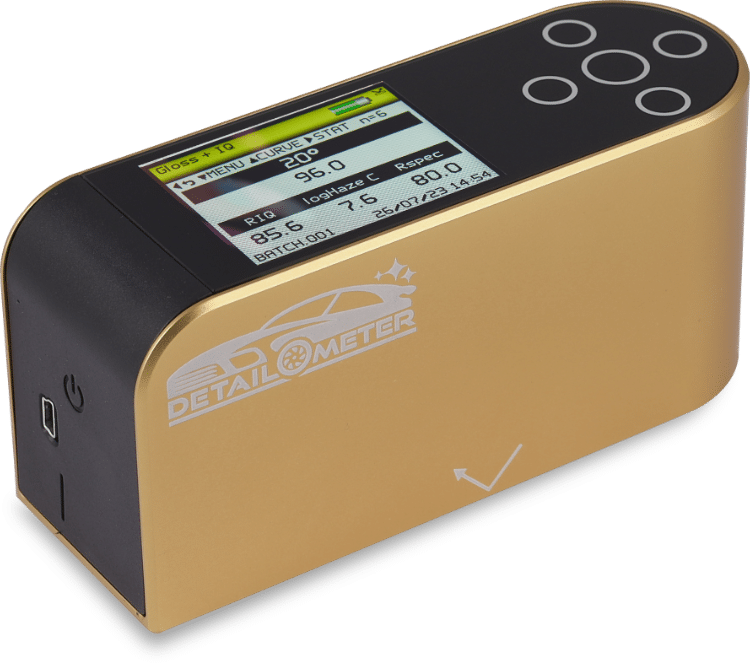
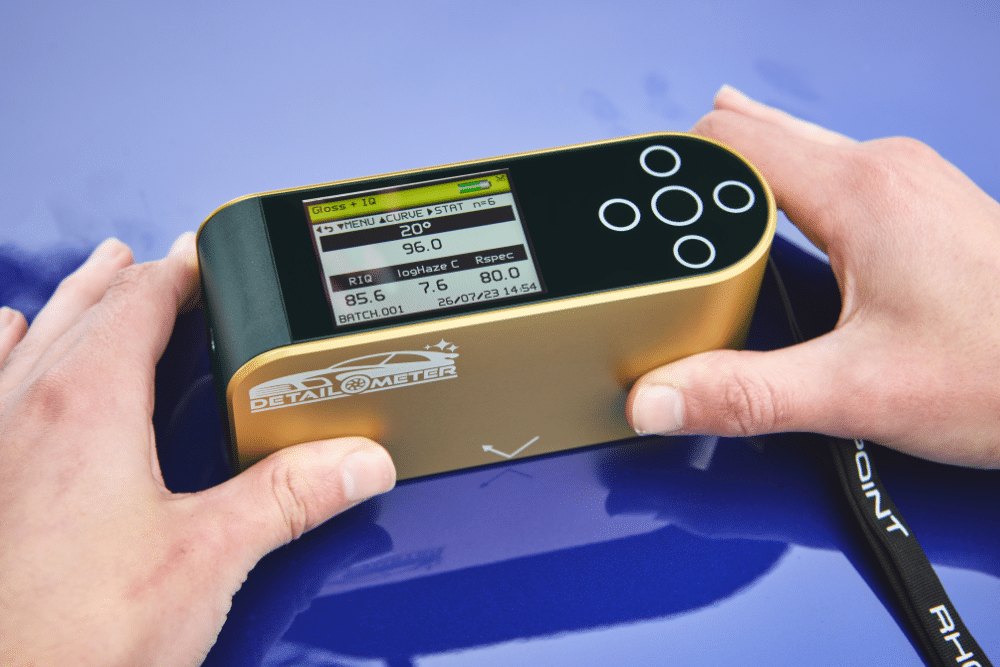

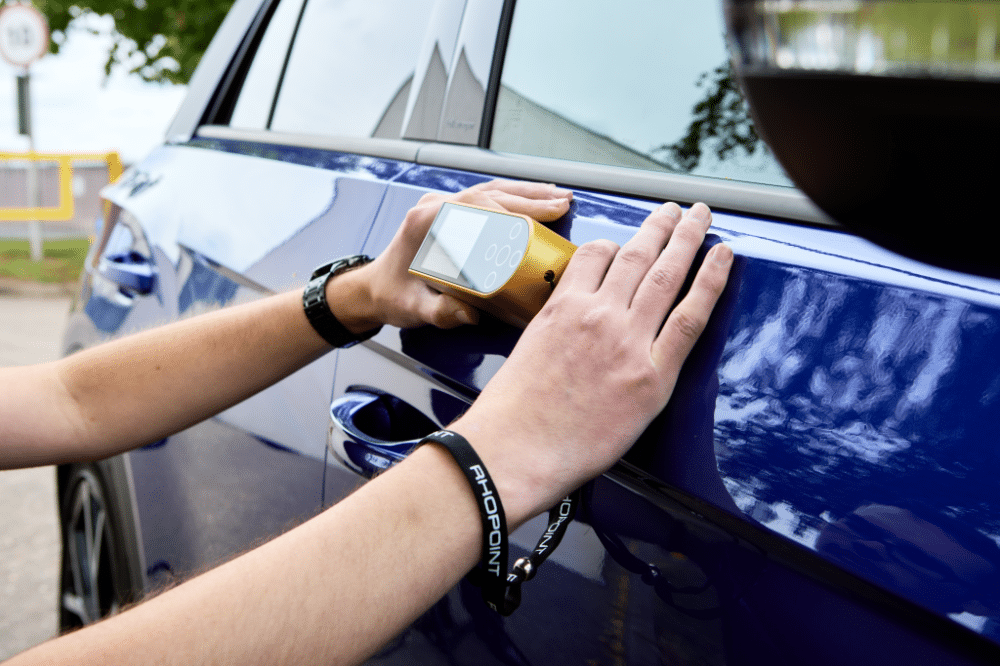
The new tool for anyone who is serious about paint correction.
Replace subjectivity with numbers that prove without a doubt how good your detailing is. Measure the increase in reflected image quality and decrease in haze, directly into an IOS/Android app.
You are offering a detailing service that gives the customer a beautiful vehicle at the end of the service. But how do you prove to the customer that you have really improved the finish as sometimes, the quality can be subjective.
Make measurements on the vehicle ‘as received’ looking at all the aspects of visual appearance which affect how the vehicle is perceived (more about each paramenter below):

Reflection haze is scattered light caused by micro texture and is measured adjacent to the main gloss component.
Symptoms – A milky finish is seen on high gloss coatings, halos can be observed around reflections of bright light sources.
Causes (coatings) – Dispersion problems, raw material incompatibilities, incorrect curing or stoving, polishing, swirls.
The lower the number, the less haze that is present on the surface.

Gloss is a measure of how much light is reflected from a sample surface at a defined angle. It is measured in Gloss Units (GU) where 0 is completely matt and 2000 GU is a perfect mirror. For automotive, numbers up to 100 can usually be seen, the higher the number, the more glossy the finish.

RIQ is used to quantify effects such as orange peel and surface waviness. This parameter gives higher resolution results compared to Distinctness of Image (DOI) measurement and better mimics human perception of surface texture, especially on high quality finishes such as automotive.
Symptoms of poor RIQ: orange peel, brush marks, waviness or other structures visible on the surface. Reflected images are distorted.
Causes – Application problems, incorrect coating flow, coating viscosity too high/low, sag or flow of coating before curing, incorrect particle size/distribution, overspray, improper flash/recoat time, inter coat compatibility, incorrect cure times and cure temperature. It has a measurement scale of 0-100. A reading of 100 indicates that there is no distortion in the reflected image quality.

A measure of how clearly a reflected image will appear in a reflective surface.

RSPEC is the peak reflectance measured over a very narrow angle.
RSPEC values are lower in surfaces with textures including orange peel and waviness. It can be used to identify subtle differences in smooth surfaces. RSpec is more sensitive to longer wavelength texture than DOI. The measurement scale is -0-100 a.
Simply define your measurement points (see APP section for more information), start measuring, and quick create your report. Use our thickness gauge and your measurements interface into the same app.
Work your magic and repeat the process above. Not only can you show how you have improved the customers vehicle but you can show that you didn’t remove all the paint to do it!

Easy to read with adjustable brightness.
Easy to navigate menus.
Robust, durable and high quality.
Up to 20,000 readings per charge!
| Weight | 1750 g |
|---|---|
| Dimensions | 360 × 290 × 140 mm |
| 20° Gloss | Haze | RSpec | DOI | RIQ | ||
|---|---|---|---|---|---|---|
| Range | 0 - 100 GU | 100 - 2000 GU | 0 - 500 Log HU | 0 - 2000 GU | 0 - 100 | 0 - 100 |
| Repeatability | 0.2 GU | 0.2% | 1 Log HU | 0.2% | 0.2 Log HU | 0.2 Log HU |
| Reproducibility | 0.5 GU | 0.5% | 10 Log HU | 0.5% | 0.5 Log HU | 0.5 Log HU |
| Resolution | 0.1 GU | 0.1 Log HU | 0.1 | |||
| Measurement Area | 6mm x 6.4mm | 6mm x 6.4mm | 6mm x 6.4mm | |||
| Standards | ISO 2813 | ASTM D523 | ISO 7668 | ASTM D2457 | DIN 67530 | JIS Z 8741 | ASTM E430 | ASTM D4039 | ISO 13803 | Rhopoint | ASTM E430 | Rhopoint | |
| Instrument Information | |
|---|---|
| Battery Type | Rechargeable lithium ion |
| Operation Time | 17+ hours |
| Readings per Charge | 20,000+ |
| Operating Temperature | 15°C - 40°C (60°F - 104°F) |
| Operating Humidty | Up to 85% (non condensing) |
| Commodity Code | 9027 5000 |
| Dimension & Weights | |
|---|---|
| Dimensions | 140mm (H) x 50mm (W) x 65mm (D) |
| Instrument Weight | 390g |
| Packed Weight | 1.75kg |
| Packed Dimensions | 360mm (H) x 290mm (W) x 140mm (D) |
| Included Accessories | |
|---|---|
| Cables: | USB mains cable (charger) |
| Calibration Tile | High gloss calibration tile with cleaning cloth |
| Quick Start Guide | |
Rhopoint Quick Report App enables the fast transfer of readings from the Detailometer and Coatings Thickness Gauge straight to your device.
In stock, next working day delivery available